The Agenda Widget is used to provide registrants with a calendar of Activities organized by date and time into Time Slots.
The Single Agenda
There is only one overall Agenda widget permitted per event but, depending where it is placed it can be used for many purposes. For example, placed on a Web Site the Agenda can be used to simply display the Agenda for information, but if placed on a Registration form it can be used to gather registrant selections. The Agenda can be placed in multiple locations.
| PLACEMENT | BEHAVIOUR |
| Registration Form | Displays the Agenda with the ability to select Activities where permitted by rules, capacity limits etc |
| Web Site | Displays a "read-only" version of the Agenda but with no ability to select Activities |
| Email Template | Displays and Agenda illustrating selected Activities or Activities that are configured for all registrants. |
The Agenda Menu
| Time Slots - time periods within an Agenda that may contain Activities. |  |
| Date - a list of dates that cover the Time Slots of the Agenda |  |
| Activities - includes items that occur within Time Slots such as activities, workshops, classes, meals |  |
| Speakers - individuals that speak at Activities |  |
| Settings - switches that control the display or validation of the widget or integration with a downstream integration |  |
| Rules - logic to control the visibility of the widget |  |
Steps to Create an Agenda
The following steps will provide guidance to create and configure an Agenda.
- Define the Time Slots
Click on the time slots tab in the Agenda menu. When you first place an Agenda on a Registration form or Web Site the platform will automatically create three Time Slots for the first date in your event. These time slots can be edited to suit your event by clicking on the edit icon. Add more time slots by clicking the "Add Time Slot" button.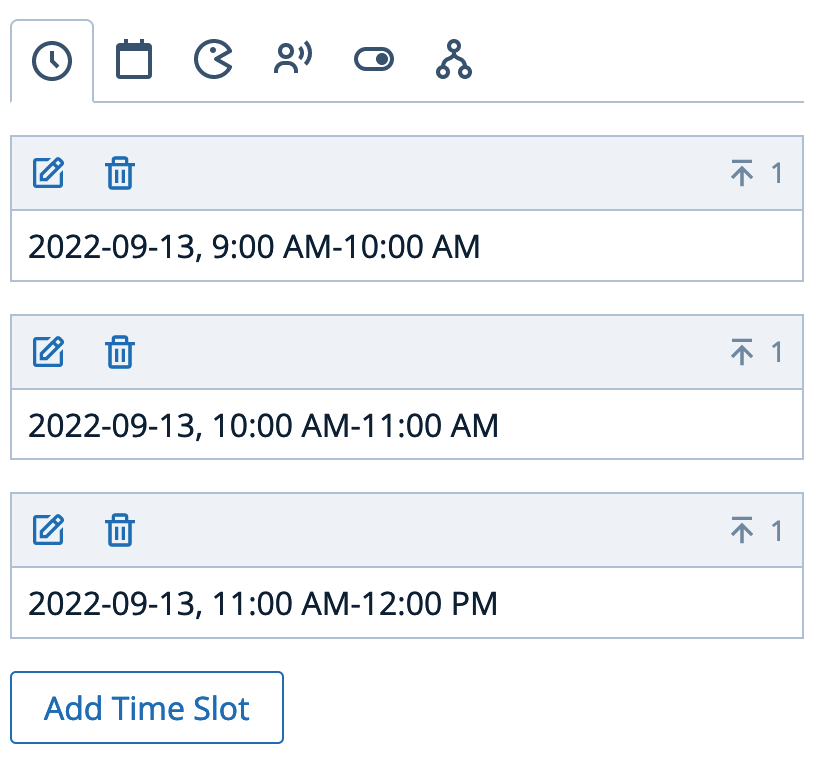
- Define the Activities
Click on the activities tab in the Agenda menu. Add activities by clicking on the "Add Activity" button.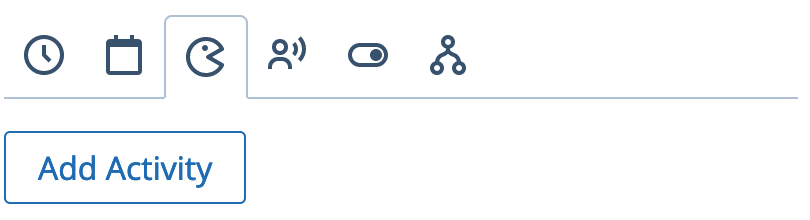
For example, an activity called "Workshop A". For ease of illustration only title and location have been configured, although an image and description could be added.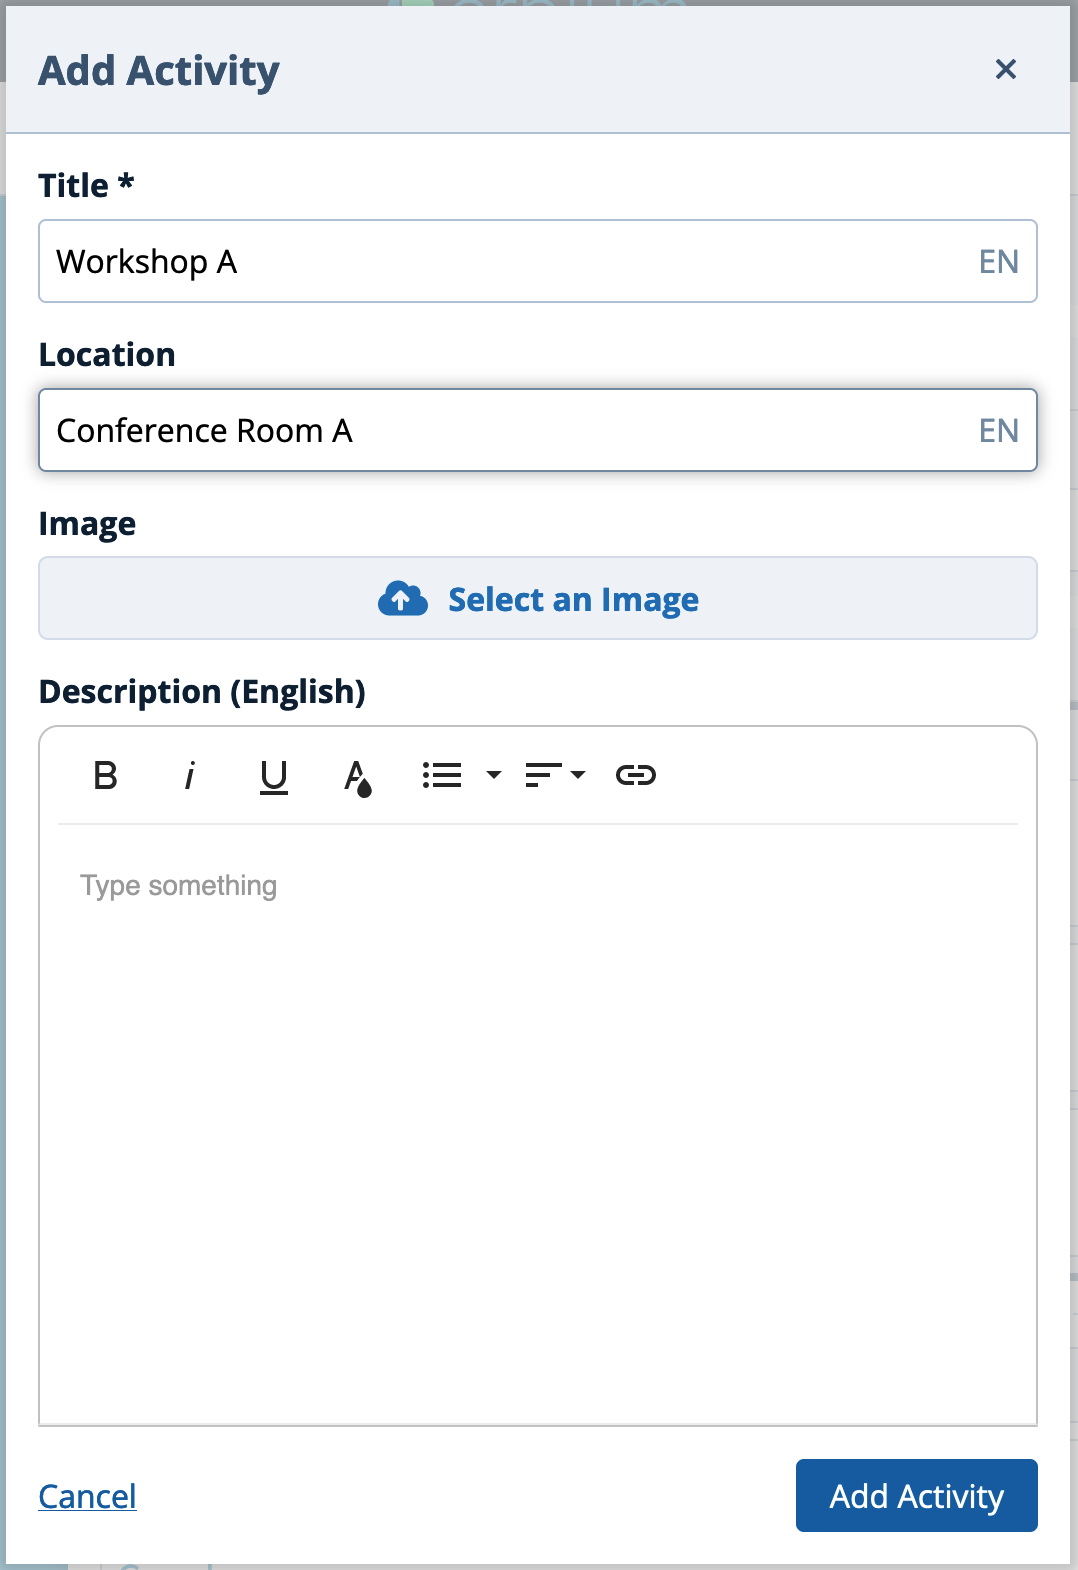
Once created the activity will appear in the list: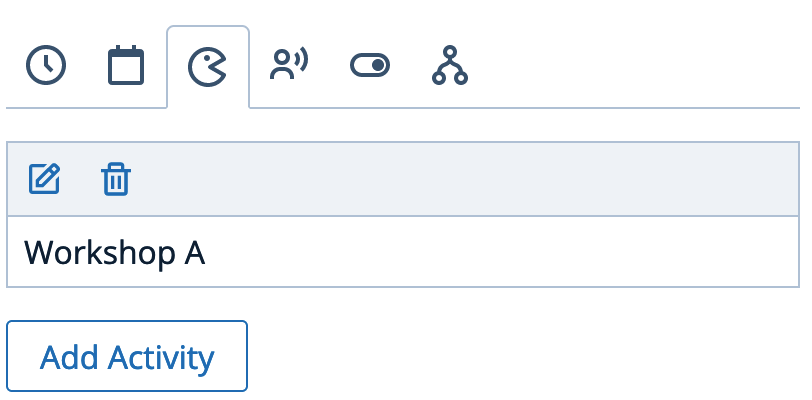
- Assign Activities to Time Slots - or vice versa, assign Time Slots to Activities:
From the Time Slot configuration:
In this example, the Time Slot is 2022-09-11, 9:00 AM - 10:00 AM as indicated in the left hand configuration panel. Click on the Activity tab and click "Assign Activity".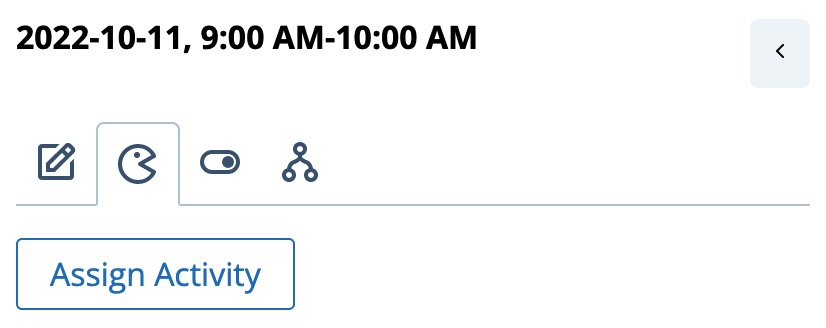
Select a previously created Activity, alternatively add a New Activity: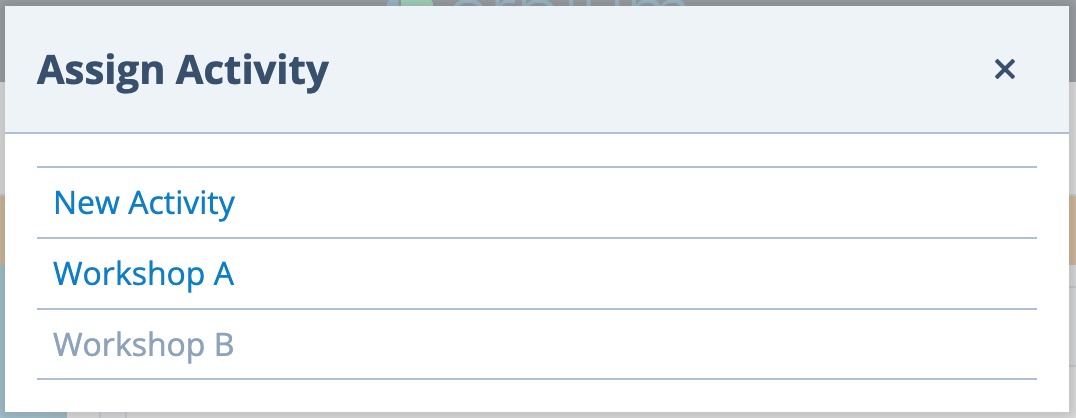
From an Activity configuration:
In this example, the Activity is the previously created "Workshop A" as indicated in the left hand configuration panel. Click on the Time Slot tab and click "Assign Time Slot".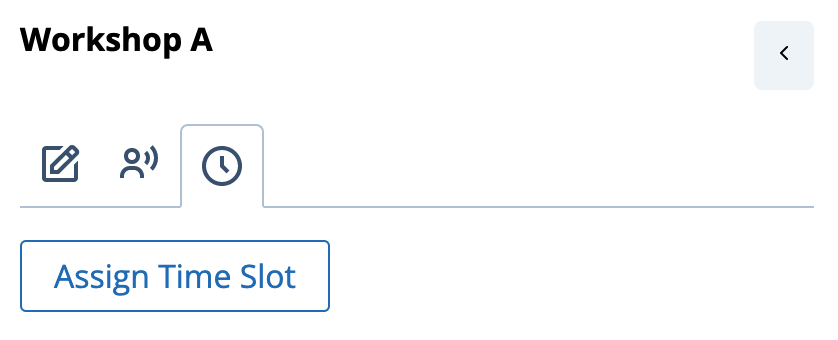
Select a previously created Time Slot. Alternatively, add a New Time Slot.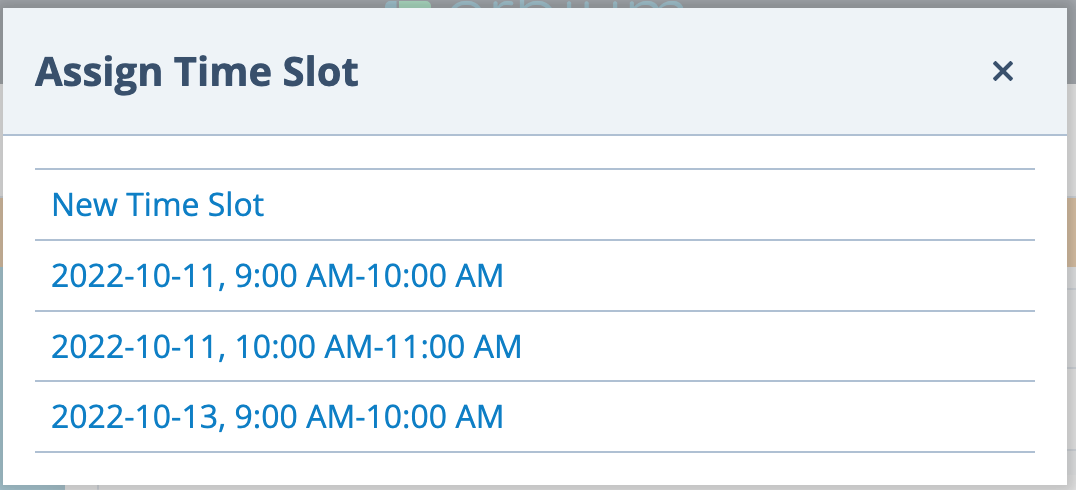
- Configure the Instance of an Activity
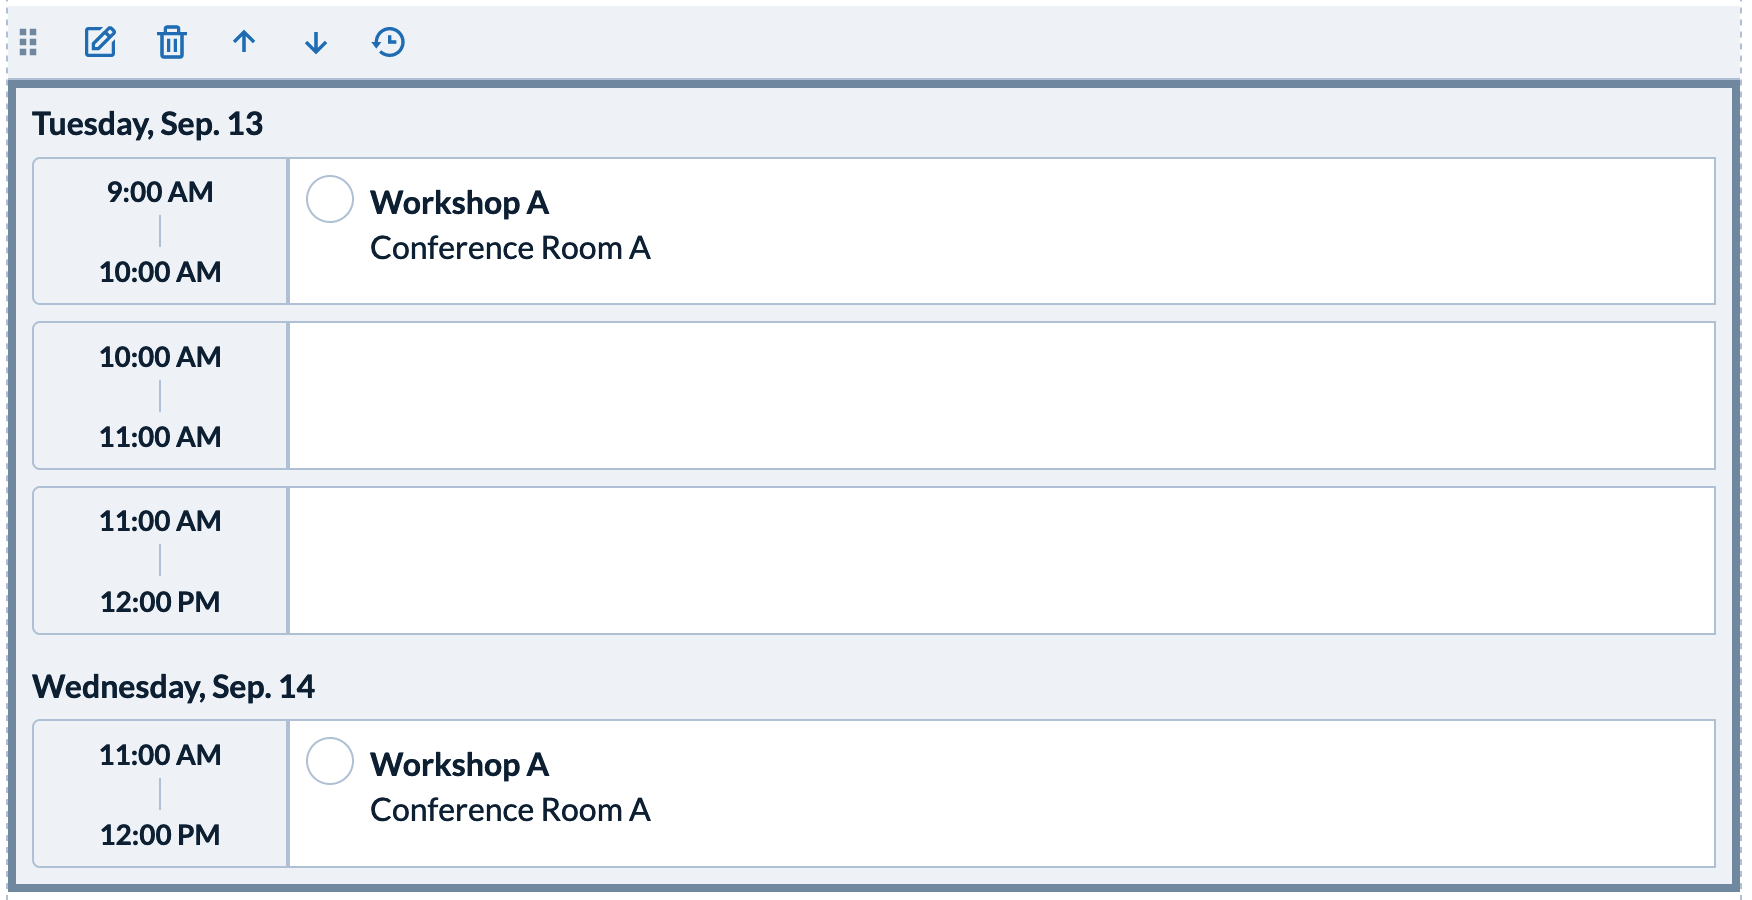
Once an Activity and Time Slot have been connected an "Instance" of the Activity is created. In this example "Workshop A at 09:00 Am - 10:00 AM on 2022-09-13". One of the unique features of the Erbium platform is that Activities can be assigned to more than one Time Slot, i.e. there can be more than one "instance" of the Activity.
Each instance of an Activity can be configured with settings relevant to that instance. As an example, "Workshop A" at 09:00AM-10:00AM 2022-09-13 can have a capacity of 100 whereas "Workshop A at 11:00AM-12:00PM 2022-09-14" might have no capacity.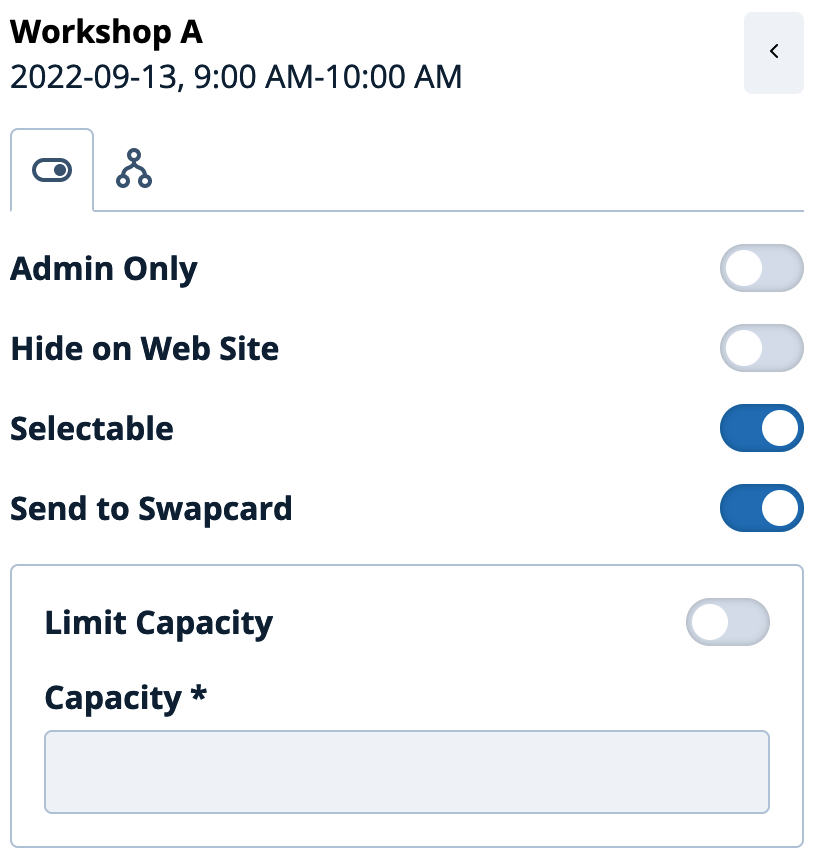
- Continue to build the Agenda but repeating the steps above as necessary
Comments
0 comments
Article is closed for comments.