The "Add to Calendar" widget can be placed on a confirmation email and enable registrants to add the configured times of the event to their personal calendar.
In the left menu, the "Add to Calendar" widget can be identified by this graphic:

To place the 'Add to Calendar' widget on the confirmation email drag the icon onto the form using your mouse (or finger if using a mobile device)
Once the widget has been placed on an email template it appears as below in the email template editor:
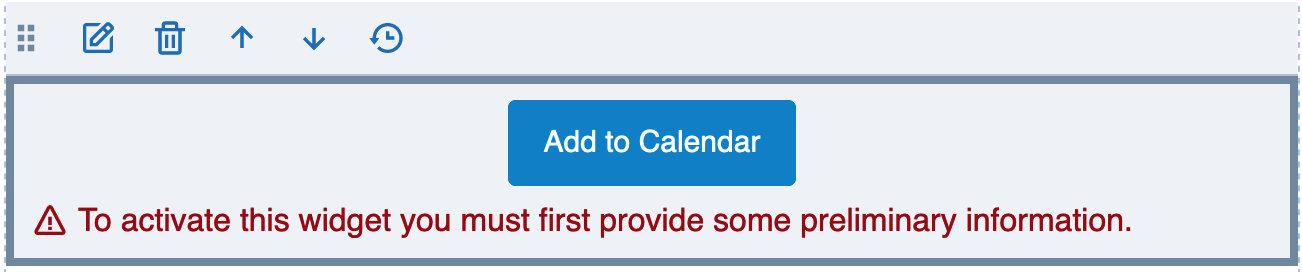
In order for the widget to function it must first be activated.
Activating the 'Add to Calendar' Widget
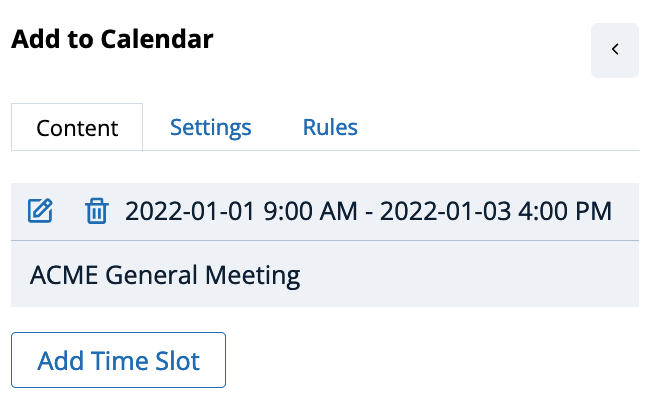
The 'Add to Calendar' widget requires at least one 'time slot' be configured. Generally this is the duration of the event. For example, an event that begins 1 January 2022 at 9:00am and ends 3 January 2022 at 4:00pm should be configured with that time range. Enter the details in the left configuration panel and click "Save"

Once the widget has been activated with at least one 'time slot' the left panel will appear as illustrated below:
... and the widget on the confirmation email will be displayed as illustrated below:

Additional Time Slots ?
If you prefer the calendar be comprised multiple date/time slots click on 'Add Time Slot' and create one or more additional time slots.
Planned Future Enhancements
We anticipate updating the 'Add to Calendar' widget to optionally create time slots based upon selection made by the registrant from the Agenda widget if used.
Comments
0 comments
Article is closed for comments.